Installation
Install Prelude TE on Docker, Podman, or systemd and sign in to the web UI.
Prelude TE ships as a single OCI container image. You can run it with Docker, Podman, or any OCI-compatible runtime, and you can manage it under systemd or your orchestrator of choice. The image is self-contained: an embedded SQLite database is created on first start and migrated automatically, so there is nothing else to install alongside it to get a working instance.
Prerequisites
| Requirement | Version | Notes |
|---|---|---|
| Container runtime | Docker 24+ or Podman 4.4+ | Or any OCI runtime. Podman 4.4+ includes Quadlet. |
| Disk | ~2 GB free | For storage volume (SQLite database + license artifacts). |
| CPU / RAM | 2 vCPU / 2 GB | Sized for a small fleet; scale up with peer and node count. |
NATS is not required to run Prelude TE — outputs to a NATS server are configured after installation through the UI or API, on top of a live instance. If you want to forward topology changes to NATS, you will set that up in Outputs / NATS.
The image is published to
registry.arolo-solutions.com/prelude/prelude-te and is publicly
pullable — no registry login required.
Quick start with Docker
A single docker run is enough to bring up a working instance:
docker run -d \
  --name prelude-te \
  -p 443:4040 \
  -p 179:179 \
  -v $(pwd)/storage:/app/storage \
  registry.arolo-solutions.com/prelude/prelude-te:v1.0.0
The engine serves the REST API and web UI on port 4040 inside the
container; for a standalone deployment, publish it on 443 — the
standard HTTPS port — as in the mapping above. Port 179 is the BGP
port — publish it so routers can establish BGP-LS sessions with the
engine. The storage directory holds the SQLite database, the
license artifacts, and runtime state — mount it as a volume so it
survives container restarts.
If you prefer a Compose file:
services:
  prelude-te:
    image: registry.arolo-solutions.com/prelude/prelude-te:v1.0.0
    ports:
      - "443:4040"
      - "179:179"
    volumes:
      - ./storage:/app/storage
    restart: unless-stopped
Start it with docker compose up -d.
Running on Podman
On Podman, deploy with Quadlet + systemd — a declarative
.container unit that systemd manages directly, with proper restart
policy, journal logging, and start-at-boot. Quadlet ships with
Podman 4.4+.
The deployment publishes two privileged ports (443 and 179), so
the simplest setup is rootful. Create the storage directory and the
unit file at /etc/containers/systemd/prelude-te.container:
sudo mkdir -p /var/lib/prelude-te/storage
[Unit]
Description=Prelude Topology Engine
After=network-online.target
Wants=network-online.target

[Container]
ContainerName=prelude-te
Image=registry.arolo-solutions.com/prelude/prelude-te:v1.0.0
PublishPort=443:4040
PublishPort=179:179
Volume=/var/lib/prelude-te/storage:/app/storage:Z

[Service]
Restart=always

[Install]
WantedBy=multi-user.target
The :Z suffix relabels the bind mount on SELinux-enforcing hosts
(Fedora, RHEL, Rocky) — without it, the SQLite database creation
fails on first boot. Start the engine:
sudo systemctl daemon-reload
sudo systemctl start prelude-te

# Logs
sudo journalctl -u prelude-te -f
Quadlet-generated units are enabled through their [Install]
section — the engine starts at boot with no separate
systemctl enable step.
For the full Podman reference — including podman kube play with a
Kubernetes manifest, rootless operation, and updates — see
Deployment / Podman.
First-run setup
Sign in for the first time
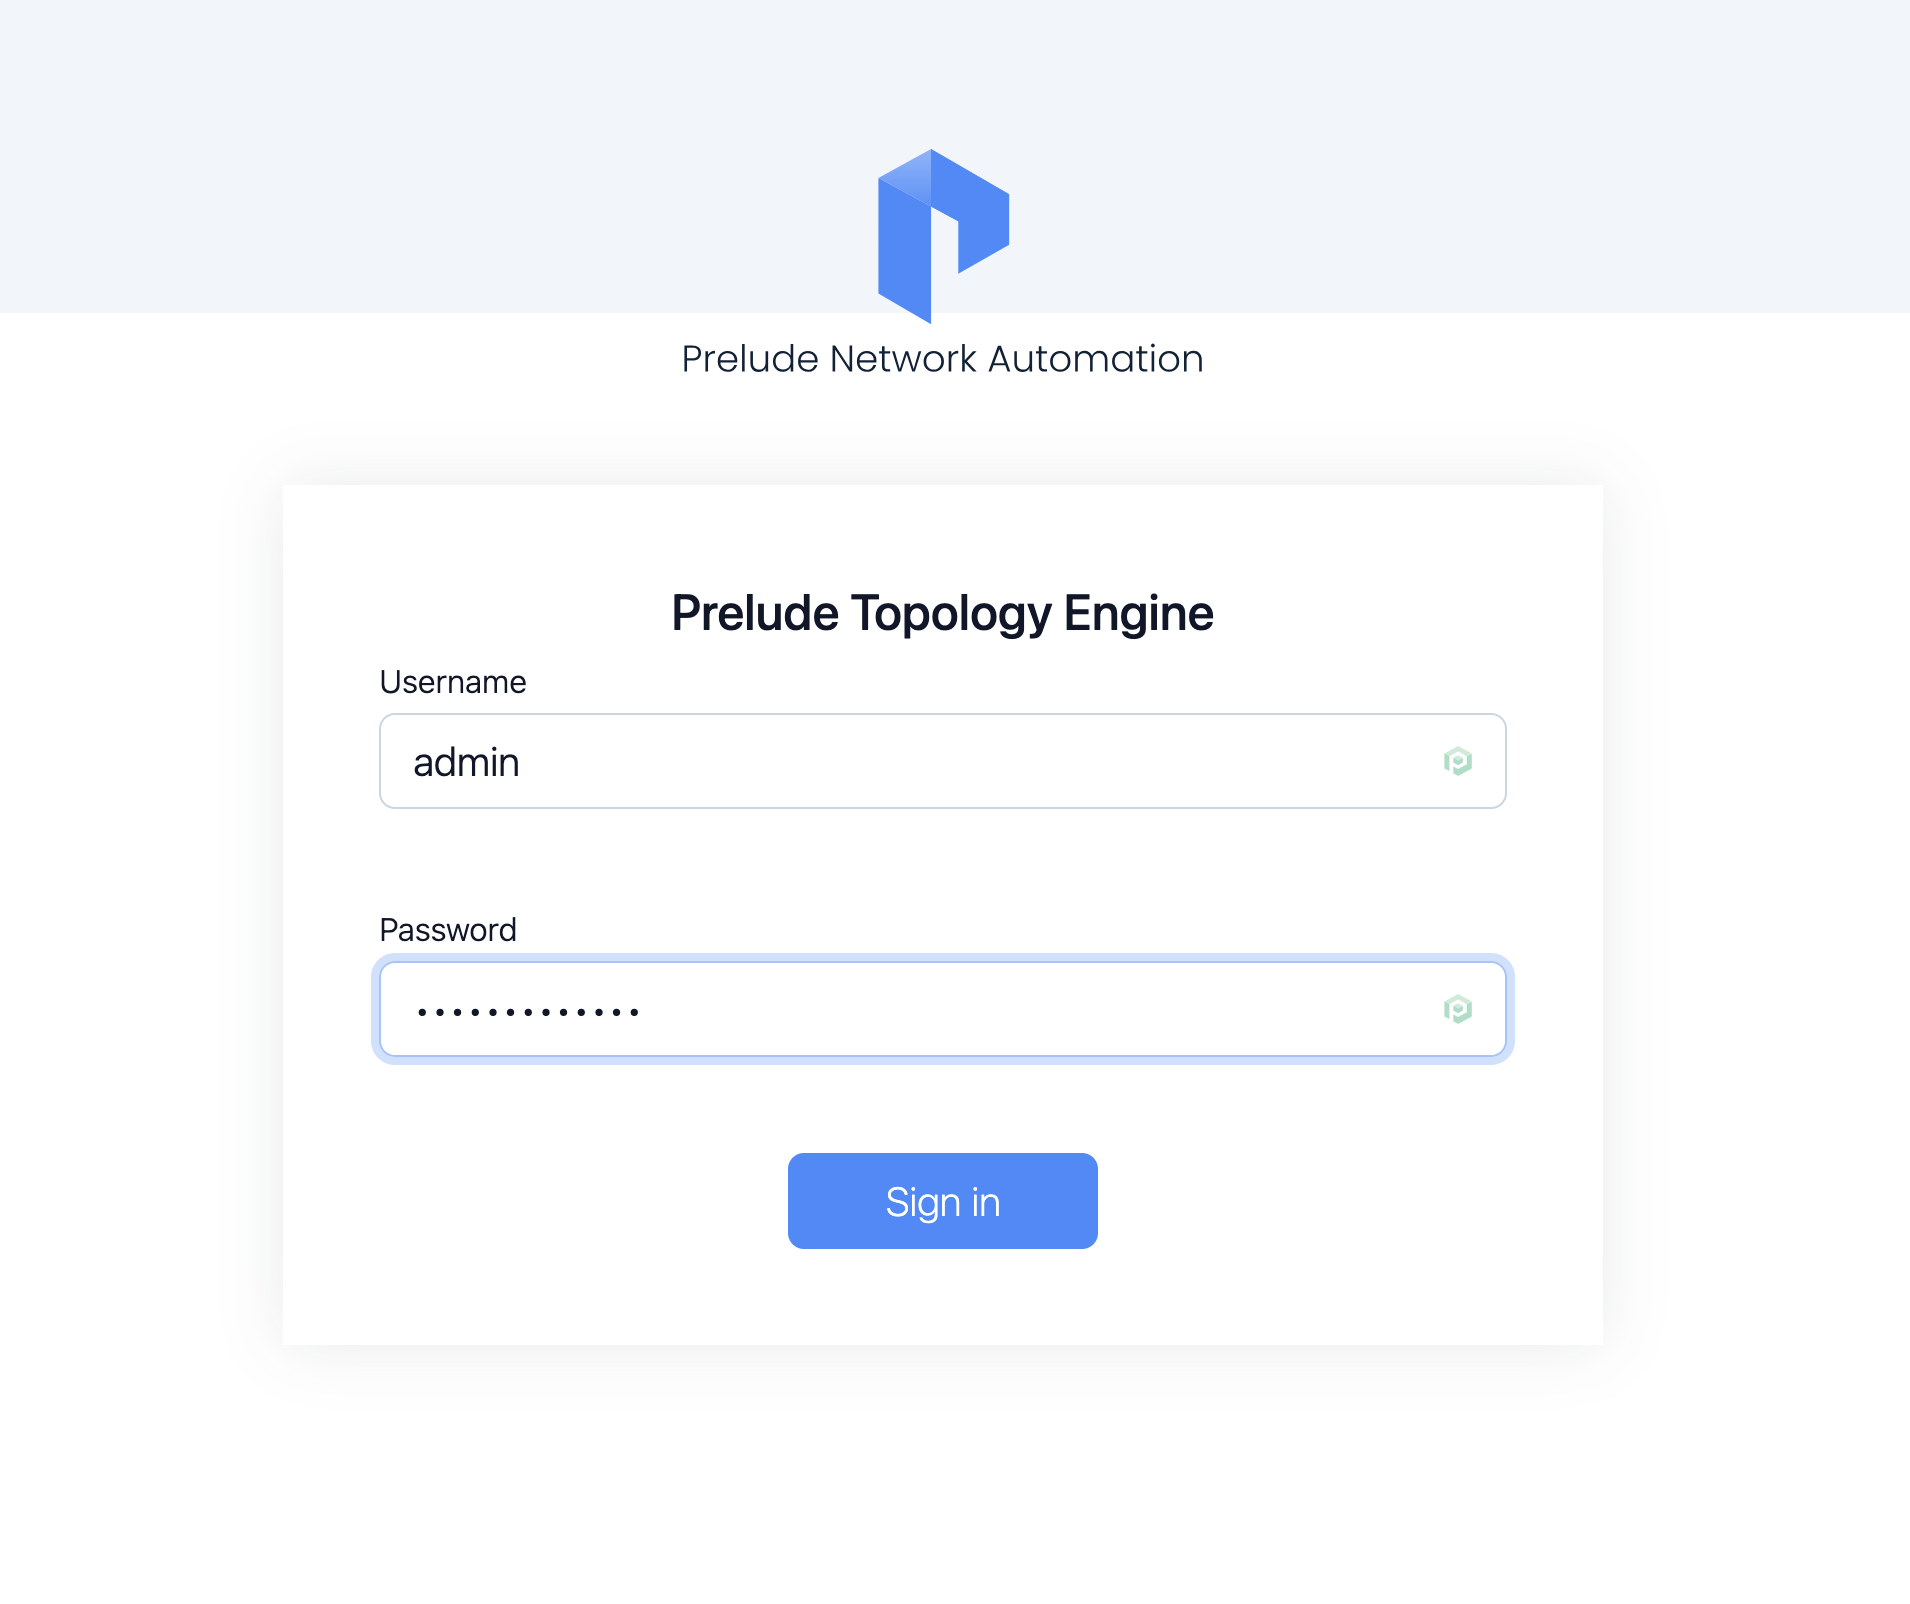
On first boot, the engine seeds a default administrator with these credentials:
| Field | Value |
|---|---|
| Username | admin |
| Password | @rolo!Pass246 |
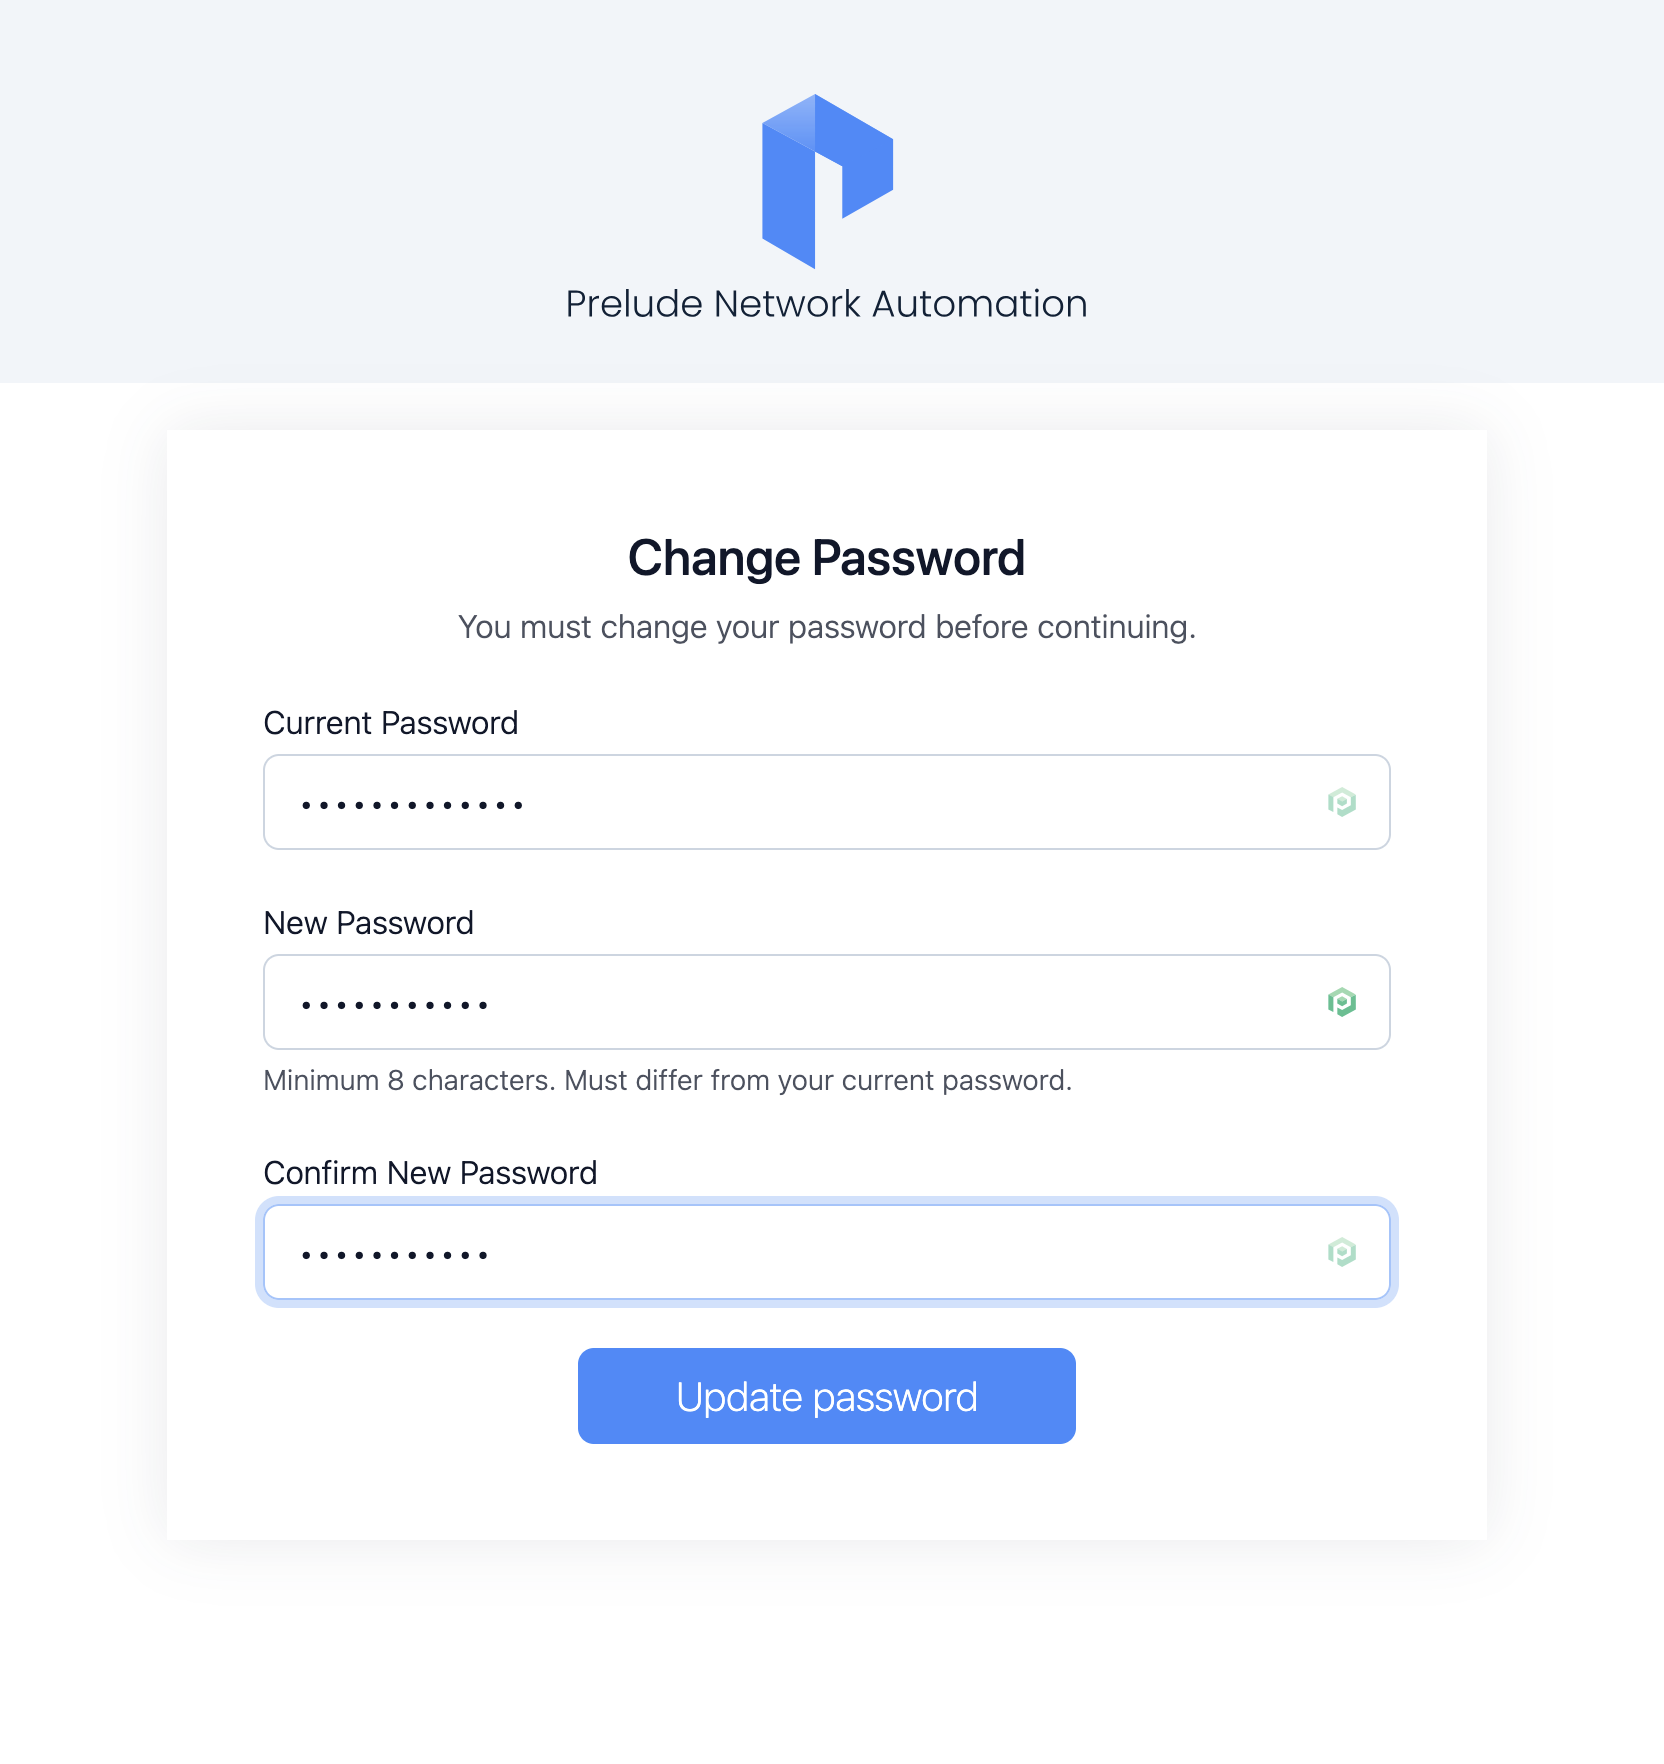
Open the web UI on the published HTTPS port (443 in the examples
above), sign in with the credentials above,
and you will be prompted to change the password before reaching
the dashboard. The default password is only ever accepted once.
Verifying the install
Open the web UI at https://localhost (or whatever address you
exposed). The engine serves the login form on first visit; sign in
with the seeded admin credentials, change the password, and you are
dropped into the dashboard.

If the login succeeds, you are ready to move on to Configuration.
TLS
Prelude TE serves the web UI and REST API over HTTPS by default.
On first start, if you have not supplied a certificate, the engine
generates a self-signed certificate under storage/certs/ and
serves with it. Your browser will warn the first time you open the
UI; accept the certificate and you are in.
The self-signed certificate is meant for evaluation only. For any other deployment, supply your own certificate.
Using your own certificate
To serve with a certificate signed by your internal CA or a public
issuer, set both TE_TLS_CERT and TE_TLS_KEY to paths inside the
container. Place the fullchain certificate and the private key
somewhere under the mounted storage/ directory and point the
variables at them:
services:
  prelude-te:
    image: registry.arolo-solutions.com/prelude/prelude-te:v1.0.0
    environment:
      TE_TLS_CERT: /app/storage/certs/te.crt
      TE_TLS_KEY: /app/storage/certs/te.key
    ports:
      - "443:4040"
      - "179:179"
    volumes:
      - ./storage:/app/storage
The paths are read inside the container. The ./storage host
directory is already mounted at /app/storage, so the paths above
resolve. Restart the container after changing either variable.
Replace the self-signed certificate before exposing the engine beyond a trusted network
Bearer tokens travel in the Authorization header on every API
request — a chain your clients actually trust is what makes that
safe.
Optional: install the Prelude MCP server
If you plan to drive Prelude TE from an AI tool (Claude Code, Cursor, Codex…), install the Prelude MCP server alongside the engine. It is a separate, stateless service that exposes the REST API over the Model Context Protocol.
docker run -d --name prelude-mcp \
  -p 4050:4050 \
  -e PRELUDE_TE_URL=https://te.example.com \
  -e PRELUDE_TE_ENABLED=true \
  registry.arolo-solutions.com/prelude/prelude-mcp:latest serve
For full configuration, transport options, and the companion skill, see Prelude MCP server.
Skip this section if you are not using AI tooling — Prelude TE is fully functional on its own.
Next
With the engine up, move on to Configuration to set the environment variables for your deployment.